Configuring Network Settings on Windows 11: A Comprehensive Guide
Windows 11 provides a redesigned Network & Internet settings page that allows users to manage their network connections, internet settings, and other network-related options with ease. In this article, we will take a detailed look at how to configure network settings on Windows 11, including Wi-Fi, Ethernet, VPN, proxy, and advanced network options.
Managing Network Connections
Configuring Wi-Fi Settings
To configure Wi-Fi settings on Windows 11, follow these steps:
Moving forward, it's essential to keep these visual contexts in mind when discussing Configuring Network Settings On Windows 11.
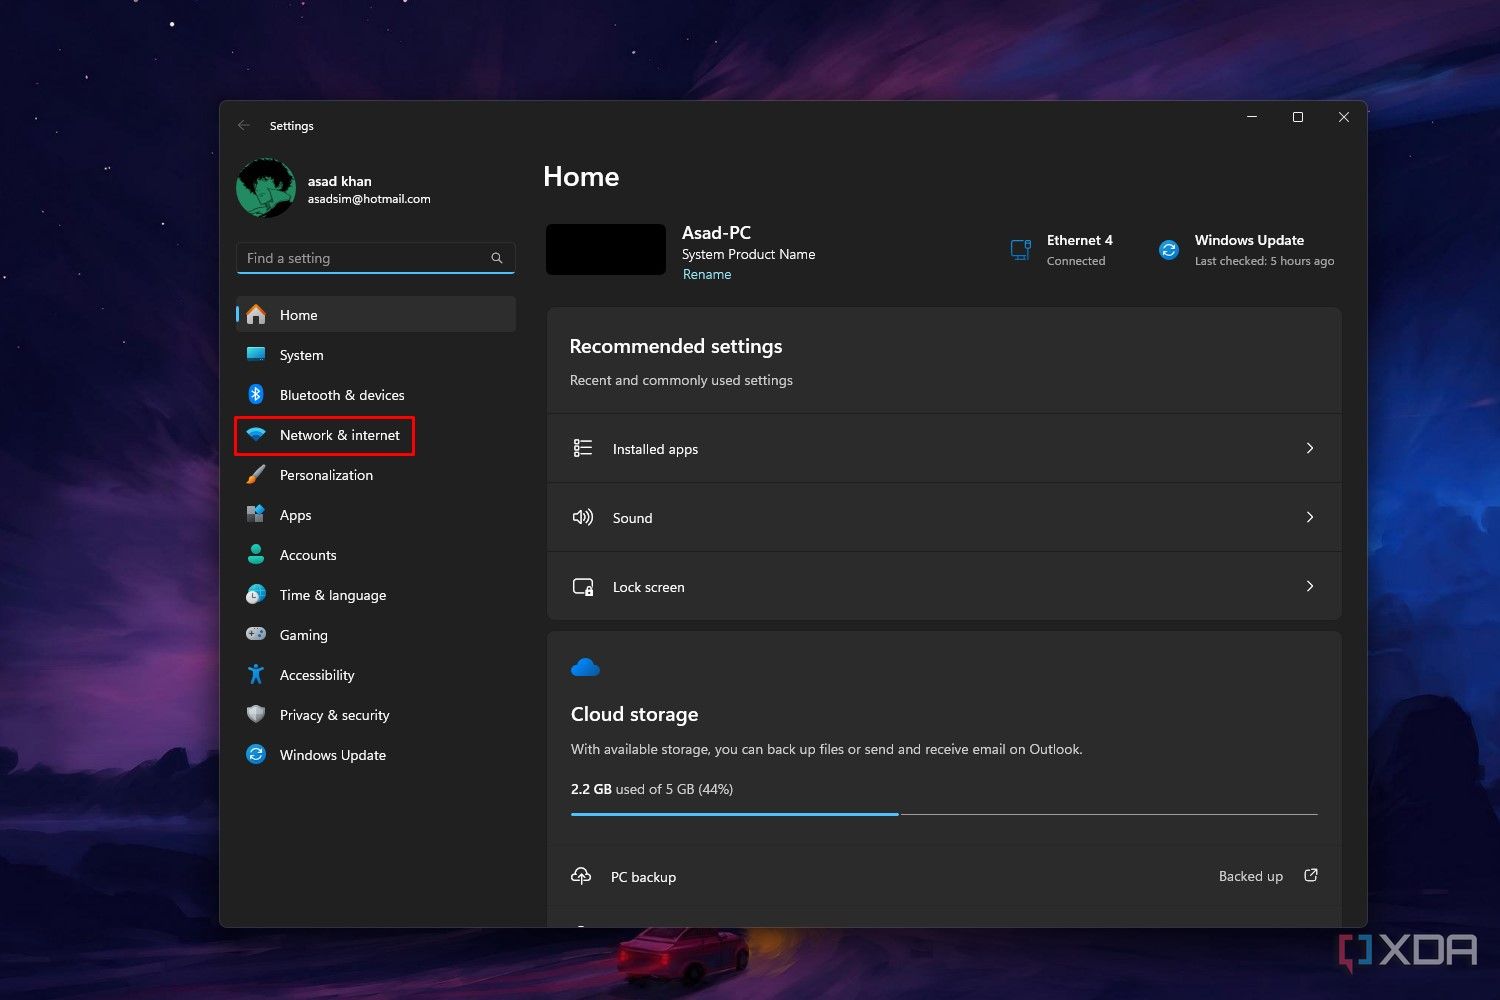
- Open Settings and go to Network & Internet.
- Select Wi-Fi and toggle the switch to the On position.
- Click on Add a new network and enter the network name and password.
- Choose the type of network you want to connect to, such as a public or private network.
- Click on Connect to join the network.
Configuring Ethernet Settings
To configure Ethernet settings on Windows 11, follow these steps:
- Open Settings and go to Network & Internet.
- Select Ethernet and toggle the switch to the On position.
- Click on Change connection properties and select the Ethernet adapter.
- Click on Properties and select the TCP/IP version.
- Enter the IP address, subnet mask, and default gateway.
- Click on OK to save the changes.
Configuring VPN Settings
To configure VPN settings on Windows 11, follow these steps:
- Open Settings and go to Network & Internet.
- Select VPN and toggle the switch to the On position.
- Click on Add a new VPN and enter the VPN name, server name, and username.
- Enter the password and click on Connect to join the VPN.
- Choose the type of VPN you want to connect to, such as a PPTP or OpenVPN.
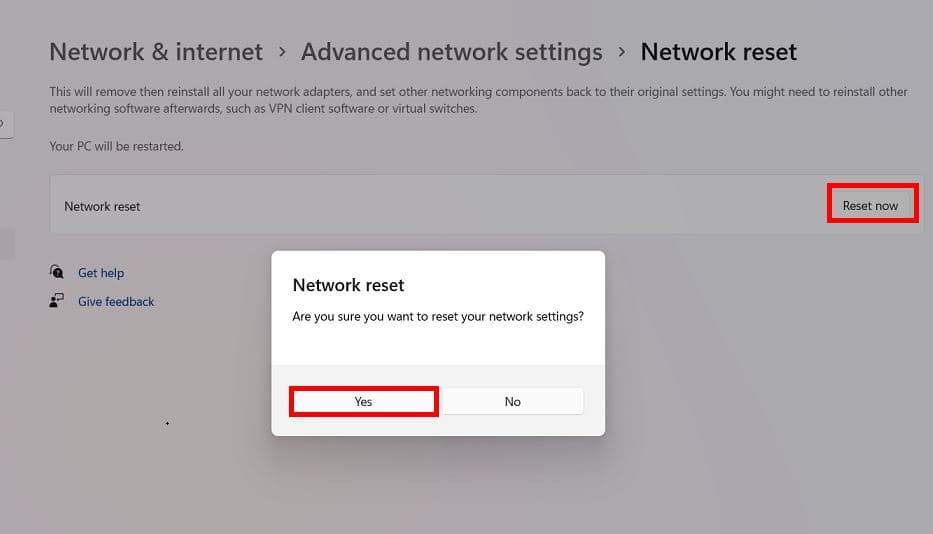
Advanced Network Settings
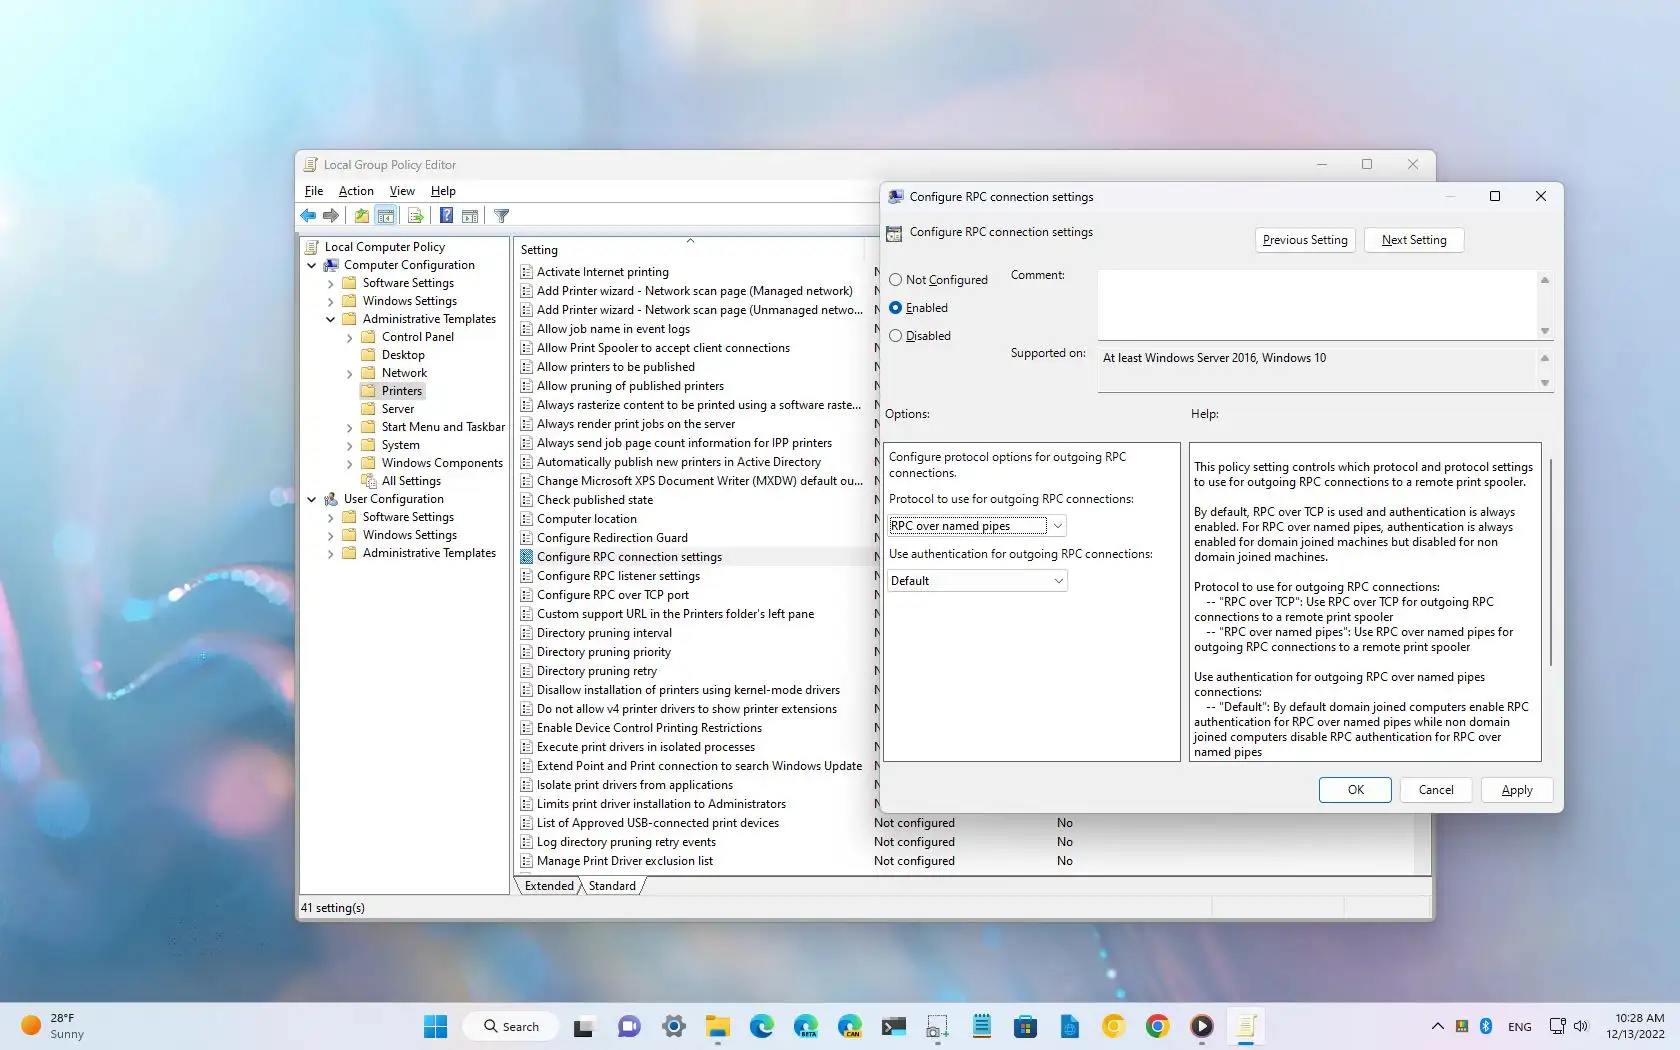
Furthermore, visual representations like the one above help us fully grasp the concept of Configuring Network Settings On Windows 11.
Advanced network settings on Windows 11 provide additional options to customize your network settings. Some of the advanced settings include:
- Proxy settings: Allows you to configure proxy settings for your network.
- DNS settings: Allows you to configure DNS settings for your network.
- Network interfaces: Allows you to configure network interfaces, such as Ethernet or Wi-Fi.
- Network adapters: Allows you to configure network adapters, such as Ethernet or Wi-Fi.
Configuring network settings on Windows 11 is a straightforward process that can be achieved using the redesigned Network & Internet settings page. This article has provided a comprehensive guide on how to configure Wi-Fi, Ethernet, VPN, and advanced network settings on Windows 11. By following these steps, you can ensure a seamless online experience and troubleshoot network issues quickly and easily.


")


