How to Host a Minecraft Server Online: A Step-by-Step Guide
Are you ready to experience the thrill of playing Minecraft with friends online? Hosting your own Minecraft server online is a great way to do just that. In this article, we'll show you how to host a Minecraft server online with ease and provide you with the necessary information to get started.
Why Host a Minecraft Server Online?
Step 1: Choose Your Minecraft Server Hosting Option
Shared Hosting vs. VPS vs. Dedicated HostingWhen it comes to hosting a Minecraft server online, you have several options to choose from. Shared hosting, VPS (Virtual Private Server), and dedicated hosting are the most popular choices. Here's a brief rundown of each option:
- Shared Hosting: A shared hosting plan allows multiple users to share the same server, which can be suitable for small Minecraft servers with a few players.
- VPS: A VPS plan provides you with a dedicated virtual server, offering more control and resources compared to shared hosting.
- Dedicated Hosting: A dedicated hosting plan gives you a full-fledged server all to yourself, offering maximum control, resources, and flexibility.
Step 2: Set Up Your Minecraft Server
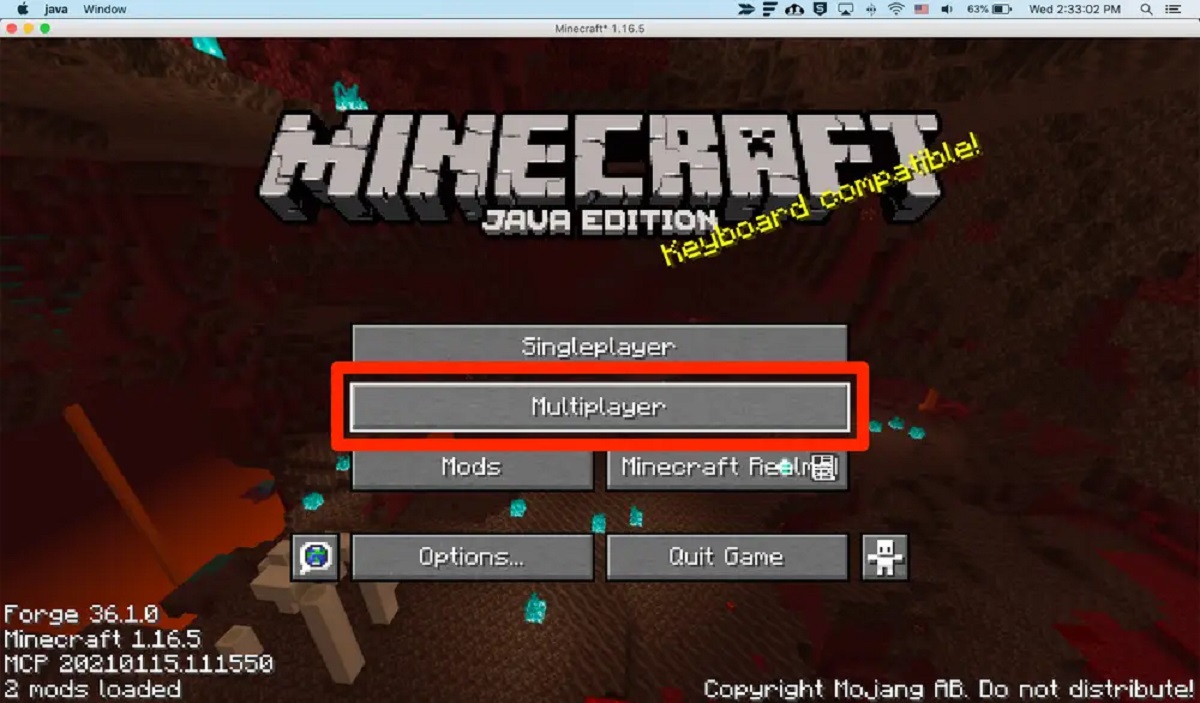
This particular example perfectly highlights why How To Host A Minecraft Server Online is so captivating.
Once you've chosen your hosting option, it's time to set up your Minecraft server. Here's a step-by-step guide to help you get started:
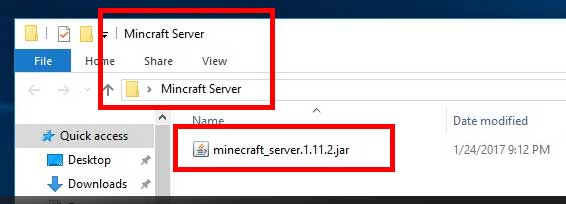
- Download the Minecraft server software (Minecraft Server JAR file) from the official Minecraft website.
- Go to the directory where you saved the JAR file and create a new folder for your server.
- Copy the JAR file into the new folder and rename it to a custom name (e.g., "myserver.jar").
- Open the Command Prompt (Windows) or Terminal (Mac/Linux) and navigate to the folder where you saved the JAR file.
- Run the command `java -Xmx1024M -Xms1024M -jar myserver.jar` (you may need to adjust the Xmx and Xms values depending on your computer's RAM and server requirements).
Step 3: Configure Your Minecraft Server Properties
After starting your Minecraft server, you'll need to configure the server.properties file to set up your server settings. Here's a brief overview of the key settings to consider:
- Server Name: Set a unique name for your server.
- Server Password: Set a password for your server (optional). This will prevent unauthorized access to your server.
- Game Mode: Choose the game mode (e.g., Survival, Creative, or Hardcore).
- Difficulty: Set the difficulty level for your server.
Step 4: Invite Friends and Start Playing
Once your server is set up and configured, it's time to invite your friends to join the fun. You can share your server details with them and have them connect using the server IP address. To find the IP address, you can use the Minecraft Server Status website or your server's control panel.
Free Minecraft Server Hosting Options
If you're on a budget or want to try out a free Minecraft server hosting option, consider the following:
Conclusion
Hosting a Minecraft server online has never been easier! With this step-by-step guide, you should now have a solid understanding of how to host a Minecraft server online. Whether you choose a paid or free hosting option, the possibilities are endless. Get ready to launch your Minecraft multiplayer adventures and join the ranks of dedicated Minecraft enthusiasts around the world!
Additional Resources
For more information on Minecraft server hosting, consider visiting the official Minecraft server hosting page or Reddit's r/MinecraftServerHosting community. Don't forget to explore the Minecraft server list to discover new servers and join the fun!


 - wikiHow")


 - YouTube")


